


How to recover a WD 40NMZW-11GX651 4TB after a power failure?
Data recovery case study: External hard drive with a capacity of 4TB
Steps to repair the drive and recover the data
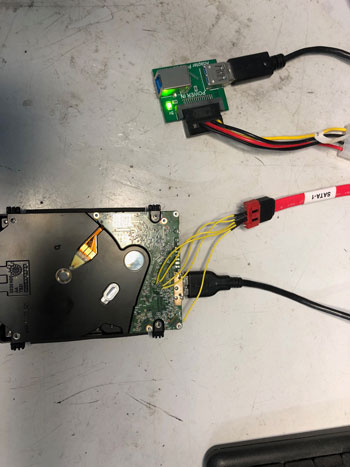
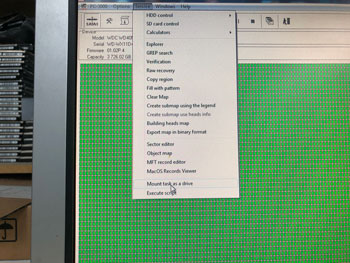
Since the hard drive is a USB drive, we couldn’t have access to the service area which needs to be fully functional in order to have read and write access to the storage area of the drive. We needed to solder a SATA interface connector to modify the drive from USB to SATA (see images). After that, we were able to go into PC-300 utility, unlock techno mode access to repair the damaged modules on the drive and were able to have access to the data area of the drive. We started to image the sectors and got 90% of the drive. After imaging all the sectors of the drive, we mounted the task as a virtual drive read only and used R-Studio to scan the virtual drive. Once done, we were able to get most of the files with the structure. The rest of the files were done in a raw recovery on PC-3000.
Summary of the steps to recover the data of the WD 40NMZW-11GX651
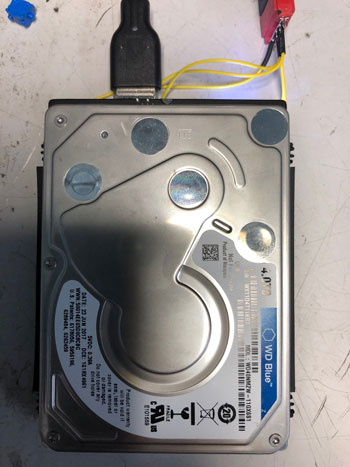
Step 1:
Remove hard drive from USB case
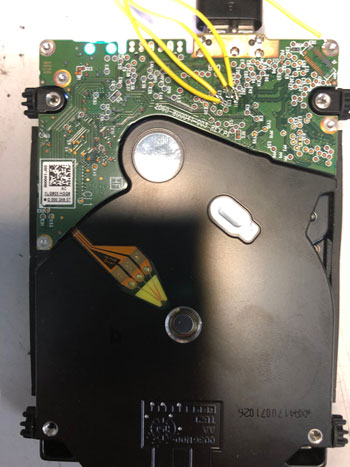
Step 2:
Desolder hard drive PCB board
Step 3:
Solder SATA connector on PCB board (see illustrations)
Step 4:
Connect SATA cable to SATA interface that was soldered to PCB board
Step 5:
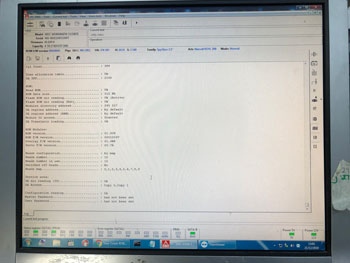
Open PC-3000 utility, unlock techno-mode access in PC-3000 tools.
Step 6:
Scan modules and repair them.
Step 7:
Create a head map.
Step 8:
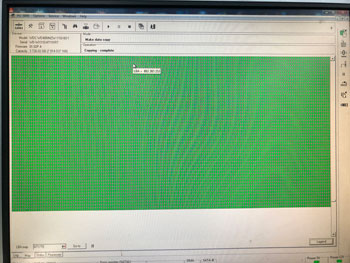
Copy all sectors to work area of PC-3000 (we are copying all the sectors from the faulty drive to our hard drive in the task).
Step 9:
Quick analysis in data extractor to see if we can see the structure.
Step 10:
Mount task drive in data extractor after the scan was completed.
Step 11:
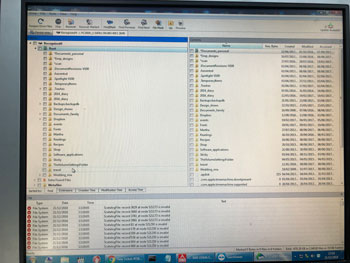
Run R-Studio, select the virtual drive task and scan sector by sector.
Step 12:
R-Studio was able to see a structure and we were able to see all the files.
Step 13:
Raw recovery in order to get as much data as possible.
What’s needed to carry out data recovery on a WD 40NMZW-11GX651 after power failure
Data recovery of this level is a highly skilled task. No recovery software can do this type of recovery. You need the tools and experience in order to modify the drive and electronic skills to do extremely precise soldering. Basic knowledge of computer isn’t enough. Learning PC-3000 and its utilities is also key to success. Creative IT also has a professional certified clean room to open drives in a safe and secured environment.